
How to Clean Android Phone Speakers and Microphones Safely
The Importance of Maintaining Clean Audio Ports
Over months of daily use, smartphone speaker grilles and microphone ports inevitably accumulate pocket lint, dust, and moisture that muffles incoming calls and distorts audio playback. Cleaning delicate speaker meshes requires specific tools and safe frequency ejection tones to prevent puncturing internal acoustic membranes or voiding water resistance ratings.
Knowing how to clean speakers and microphone correctly on Android can save you time, money, and frustration. Whether you are a beginner or an experienced Android user, this complete 2026 tutorial will walk you through every step clearly and simply.
Smartphones accompany us everywhere—in denim pockets, gym bags, dusty work environments, and dinner tables. Over months of continuous usage, minute particles of pocket lint, ambient dust, facial oils, dry skin cells, and earwax accumulate inside your Android device’s speaker grilles, earpiece mesh, and tiny microphone ports. This debris buildup leads to muffled audio output during phone calls, distorted music playback at high volumes, and poor voice recognition during phone calls or audio recordings.
However, modern smartphones feature delicate acoustic hardware, ultra-thin waterproofing membranes (IP67/IP68 ingress protection rating seals), and fine acoustic meshes. Cleaning these components improperly can permanently puncture acoustic diaphragms, destroy internal water seals, or push debris deeper into the phone housing. In this detailed maintenance guide, we reveal how to safely clean your Android device’s speakers and microphone ports using professional techniques, acoustic sound frequency water ejection tools, and safe manual practices.
Anatomy of Android Smartphone Audio Components
Before beginning the cleaning process, it is helpful to understand where your device’s audio components are located and how they function:
- Earpiece Speaker Mesh: Located along the ultra-narrow bezel seam at the top edge of your smartphone display screen. It delivers voice audio during calls and often doubles as the secondary stereo speaker during media playback. Because it sits directly against your ear, it frequently accumulates skin oil and earwax.
- Bottom Loudspeaker Grille: Positioned alongside the USB-C charging port at the lower frame edge. Features drilled holes or open slots that project primary loudspeaker audio. This port commonly collects dense pocket lint.
- Primary Voice Microphone Pinhole: Located at the bottom frame edge, typically near the SIM tray or USB-C port. It captures your voice during cellular phone calls.
- Secondary Noise-Canceling Microphones: Tiny pinhole openings positioned near the top frame edge or camera module bump. These secondary mics capture ambient noise to perform active background noise cancellation during calls and video recordings.
Essential Cleaning Tools vs. Dangerous Materials to Avoid
Using the correct tools is the single most important factor in cleaning mobile audio components safely. Review the matrix below before starting:
Safe & Recommended Tools:
- Soft-Bristled Nylon Brush: An ultra-soft toothbrush or specialized anti-static electronics detailing brush with pliable nylon bristles.
- Poster Putty / Mounting Tack (e.g., Blu-Tack): High-tack reusable adhesive putty that conforms to micro-grilles and lifts packed lint without leaving chemical residues.
- Painter’s Blue Masking Tape: Low-tack adhesive tape useful for dabbing fine dust off earpiece grilles.
- 99% Isopropyl Alcohol (IPA): High-purity electronic-grade alcohol that evaporates rapidly without leaving moisture behind.
- Microfiber Cloth: Lint-free cloth for wiping down frame surfaces.
Dangerous Tools to Strictly AVOID:
- High-Pressure Compressed Air Cans: Commercial canned air sprays air at speeds exceeding 60 PSI. This immense pressure will instantly rupture delicate acoustic membranes and blow liquid propellant chemicals inside your device housing.
- Metal Needles, Pins, & Paperclips: Metal tips puncture water-resistant membrane barriers instantly.
- Pure Water or Household Cleaners: Tap water contains conductive minerals that cause electrical short circuits, while household cleaners corrode protective metal finishes.
Acoustic Vibrational Cleaning: Using 165Hz Sound Tones
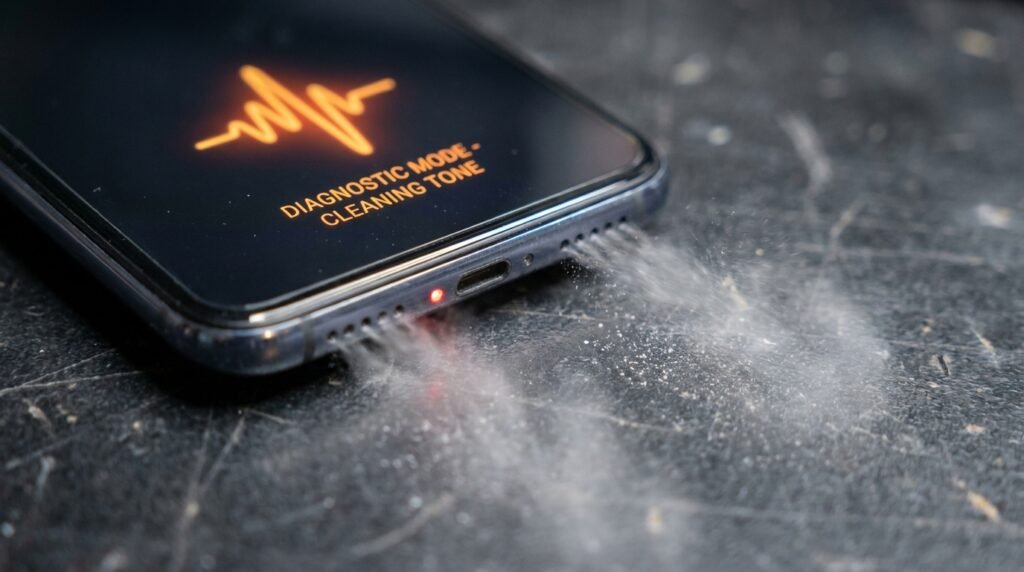
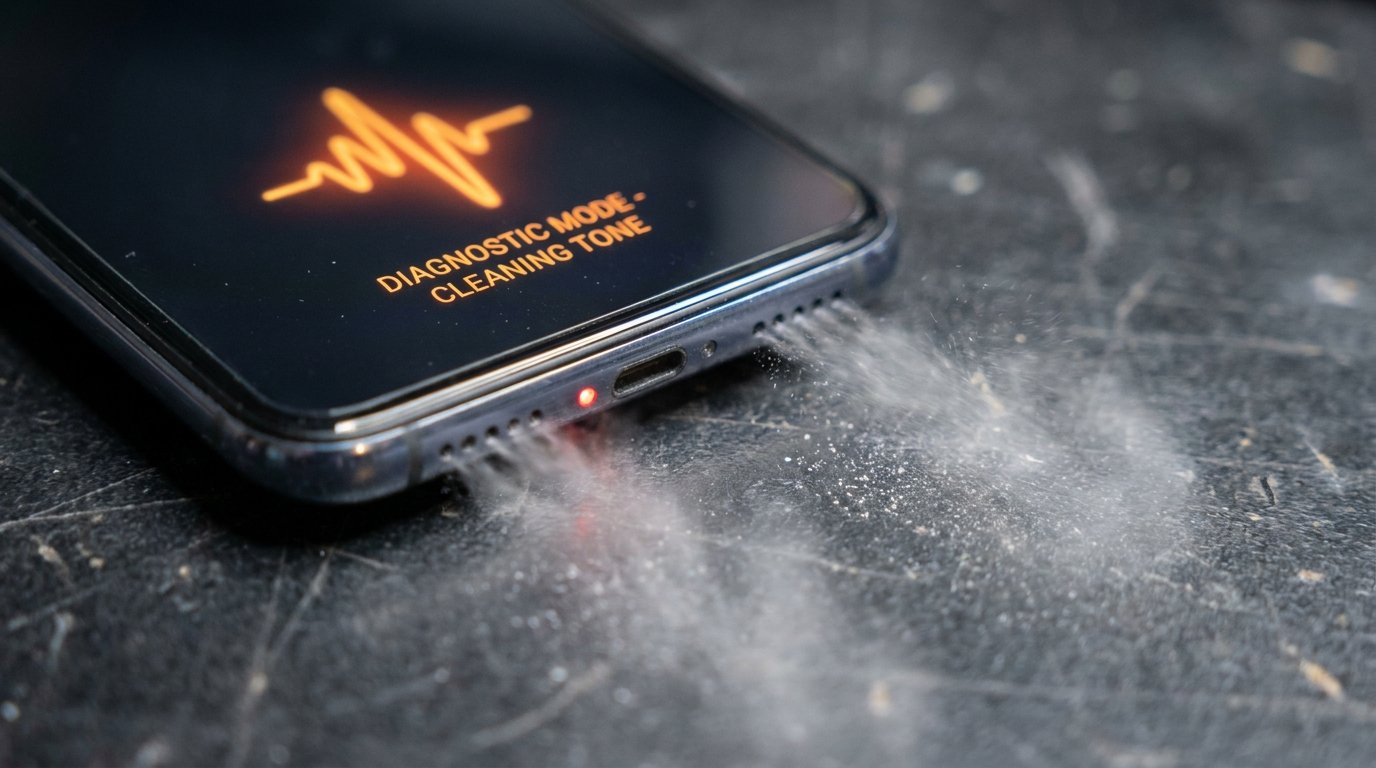
Before applying physical cleaning tools, you can use high-frequency acoustic sound waves to eject trapped water droplets, loose dust particles, and lint fibers without touching the phone hardware.
When an acoustic speaker driver produces sound at specific resonant frequencies—specifically a 165 Hz sine wave tone combined with rapid ultrasonic sweeps—it causes the speaker membrane to vibrate at high displacement velocity. This intense physical vibration creates air pressure pulses that push moisture and loose debris outward through the speaker mesh holes.
- Increase your Android device’s media volume to 100% Maximum.
- Open your web browser and navigate to an acoustic water eject website (such as fixmyspeakers.com) or launch a dedicated sound tone generator app from the Google Play Store.
- Select the 165 Hz tone frequency generator or tap the Water Eject Sound Button.
- Position your smartphone vertically with the speaker ports facing downward onto a microfiber towel.
- Let the sound tone play continuously for 60 to 90 seconds. You will see small water droplets or dust specks pop out onto the towel. Repeat 2-3 times if necessary.
Step-by-Step Guide: Cleaning the Top Earpiece Speaker Mesh
The top earpiece speaker features the finest mesh openings on your smartphone, making it prone to wax clogging. Follow these steps to restore voice call clarity:
- Power Off Your Phone: Turn off your device completely before executing any liquid or physical maintenance.
- Dry Brushing: Hold your phone upright at a 45-degree angle so gravity pulls debris downward. Gently brush the top earpiece slot using your soft-bristled nylon toothbrush in light, sweeping motions across the seam. Do not press hard into the slot.
- Adhesive Lift with Poster Putty: Take a small piece of poster putty (Blu-Tack), knead it between your fingers until warm and pliable, and gently press it against the top earpiece mesh. Lightly press it in for 2 seconds, then pull it straight back. The putty will pull out compressed lint and wax trapped inside the mesh holes. Repeat with a fresh section of putty.
- Isopropyl Alcohol Swab (For Stubborn Wax): Slightly dampen the tip of a cotton swab or brush with 99% Isopropyl Alcohol. Shake off any excess liquid—the brush must be barely damp, never dripping. Gently wipe the earpiece slot to dissolve dried facial oil. Wipe dry immediately with a clean microfiber cloth.
Step-by-Step Guide: Cleaning Bottom Speaker Grilles
The bottom loudspeaker grilles feature larger openings where heavy pocket lint lodges tightly:
- Inspect the speaker holes under a bright flashlight to identify packed debris clusters.
- Use a soft toothbrush angled down towards the floor to sweep loose dirt out of each individual hole.
- Roll a small piece of poster putty into a tiny cylinder cone. Press the tip of the putty cone firmly into each speaker hole and lift it sharply. Watch the compressed lint extract onto the putty surface.
- If sticky dirt remains, moisten a wooden toothpick tip slightly (never metal) with 99% Isopropyl Alcohol. Gently scrape the interior walls of the speaker hole at an angle, taking care not to push deep into the bottom membrane. Wiggle out the debris clot.
Step-by-Step Guide: Clearing Microphone Pinhole Ports
Microphone pinholes are exceptionally narrow (often under 1mm in diameter). Cleaning them requires surgical precision to avoid damaging the offset internal mic sensor.
- Identify both the primary microphone pinhole (bottom frame) and secondary noise-canceling mic pinholes (top frame and camera housing).
- Take a soft-bristled brush and rotate the bristles directly over the pinhole entrance in a gentle circular motion to flick out loose lint.
- For deeply packed lint, use a soft wooden toothpick tip. Ensure the wooden tip is rounded and smooth. Insert the tip no more than 1 to 2 millimeters into the pinhole entry, lightly rotate, and draw out the lint plug.
- Apply poster putty over the pinhole opening and lift to suck out remaining micro-dust.
Testing and Verifying Audio Clarity Post-Cleaning
Once cleaning is complete, verify that your audio components are working perfectly:
1. Built-in Voice Recorder Test:
Open your Android Voice Recorder app. Record a 10-second vocal test speaking in a normal conversational voice holding the phone 6 inches from your mouth. Playback the audio. Next, record a second sample whispering softly. If the playback is crisp, clear, and free from crackling or static, your primary microphone is clean.
2. Secret Diagnostic Code Test:
Most Android devices include built-in hardware diagnostic menus accessed via the phone dialer:
- Samsung Devices: Open Phone dialer, type
*#0*#, tap Speaker to test stereo speakers, and tap Receiver to test the top earpiece. - Xiaomi / Redmi / POCO Devices: Open Phone dialer, type
*#*#6484#*#*to access the CIT Hardware Test Menu, and run the Speaker Test and Main Mic Test. - Motorola / Stock Android Devices: Open the built-in Device Help app and run the Interactive Hardware Diagnostics test suite.
Cleaning Tools & Safety Rating Matrix
| Cleaning Tool | Safety Rating | Target Component | Primary Risk / Precaution |
|---|---|---|---|
| 165Hz Acoustic Tone | Safe | Earpiece & Loudspeaker | Zero hardware contact risk. Ejects water & loose dust. |
| Soft Nylon Toothbrush | Very safe | All Speaker & Mic Grilles | Use light sweeping motions. Do not jam bristles. |
| Poster Putty (Blu-Tack) | Very safe | Earpiece Mesh & Speaker Holes | Press gently. Lifts compressed lint instantly. |
| 99% Isopropyl Alcohol | Safe with caution | Sticky Oil & Wax Buildup | Dampen brush lightly. Never allow liquid pooling. |
| Wooden Toothpick | Use with caution | Mic Pinholes & Deep Holes | Limit depth to 1-2mm max. Avoid excessive force. |
| Compressed Air Can | Dangerous | DO NOT USE | Ruptures speaker diaphragm and breaks IP68 seals. |
| Metal Pins / Sewing Needles | Dangerous | DO NOT USE | Punctures acoustic mesh and internal components. |
Frequently Asked Questions (FAQ)
Can water trapped inside speaker grilles ruin my phone permanently?
Modern IP67 and IP68 water-resistant smartphones feature waterproof membranes behind the speaker grilles that prevent water from entering the motherboard. However, trapped liquid in the outer acoustic cavity dampens sound vibrations, causing heavy distortion. Running a 165Hz water ejection tone ejects this liquid immediately.
How often should I clean my smartphone speakers and microphones?
Performing a quick dry brushing and poster putty cleaning every 4 to 6 weeks prevents lint from packing tightly into acoustic ports. Deep cleaning with isopropyl alcohol should only be done as needed when audio degradation occurs.
What should I do if my speaker still sounds muffled after cleaning?
If hardware cleaning and sound frequency ejection do not resolve muffled audio, check if your phone case or screen protector is obstructing the earpiece seam. If unobstructed, inspect Settings > Accessibility > Hearing Enhancements to ensure audio balance slider is centered and mono audio is turned off. If issues persist, the speaker diaphragm may require hardware repair.
Conclusion
Maintaining clean Android speakers and microphones does not require expensive repair shop tools or dangerous metal needles. By utilizing gentle soft brushes, poster putty lift techniques, 99% isopropyl alcohol, and 165Hz acoustic water ejection tones, you can safely remove pocket lint, earwax, and moisture—restoring crystal-clear audio quality and phone call clarity while preserving your device’s waterproof seals.
Reviewed by the APKMales editorial team. This guide was compiled from publicly available documentation.
